Guides
Auth Integration
Setting up your auth integration enables impersonation via a single click.
Setting it up only takes a few minutes and will require some light code changes.
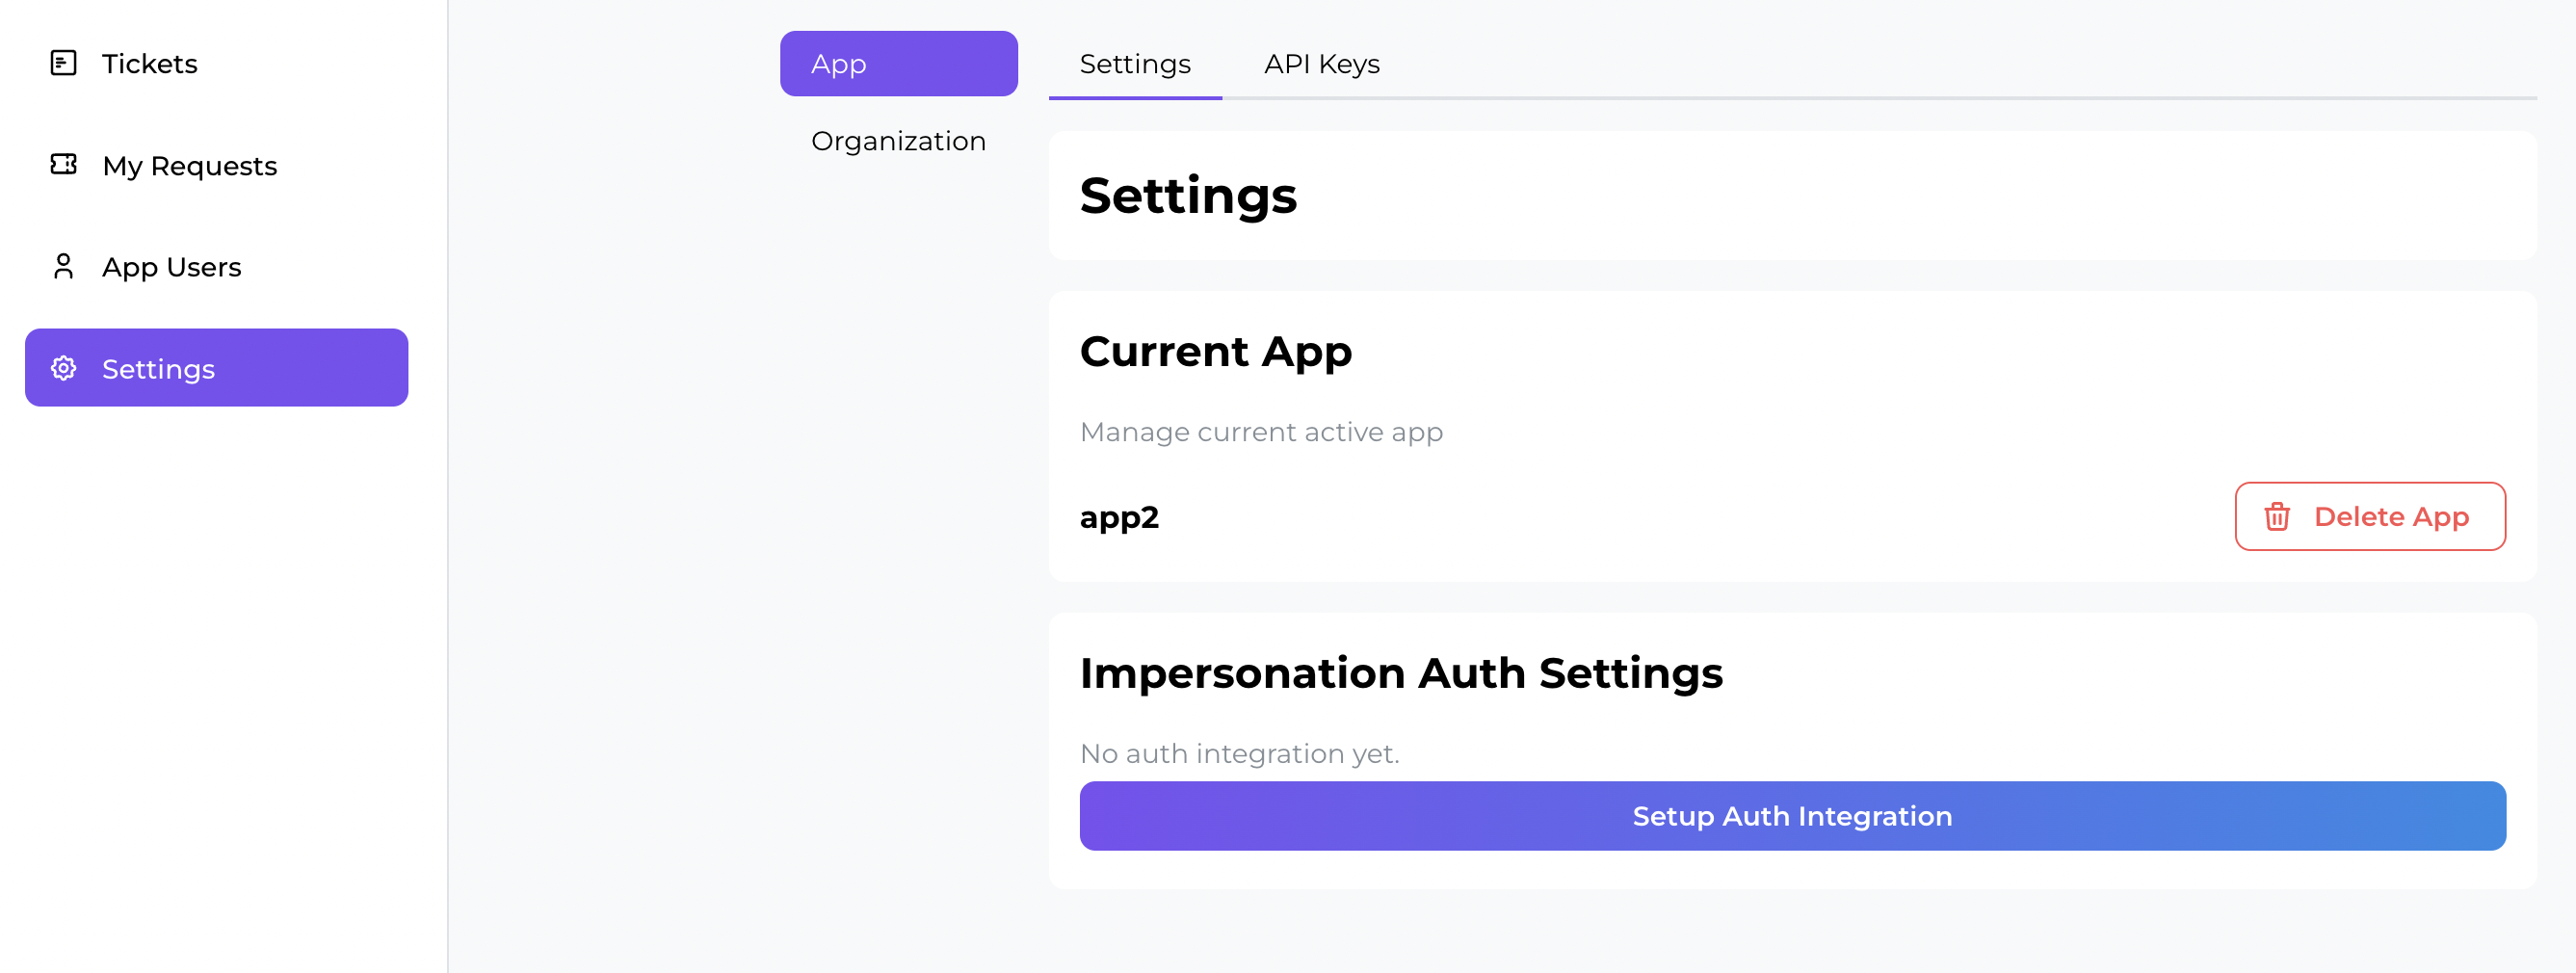
To begin, head over to your dashboard settings and click on the "Setup Auth Integration" button
There are 2 main forms of auth integration, mainly:
Supabase Integration
Supabase (recommended)
Integrating auth with Supabase is the easiest way to get started.
A Supabase account will be required.
JWT Secret required
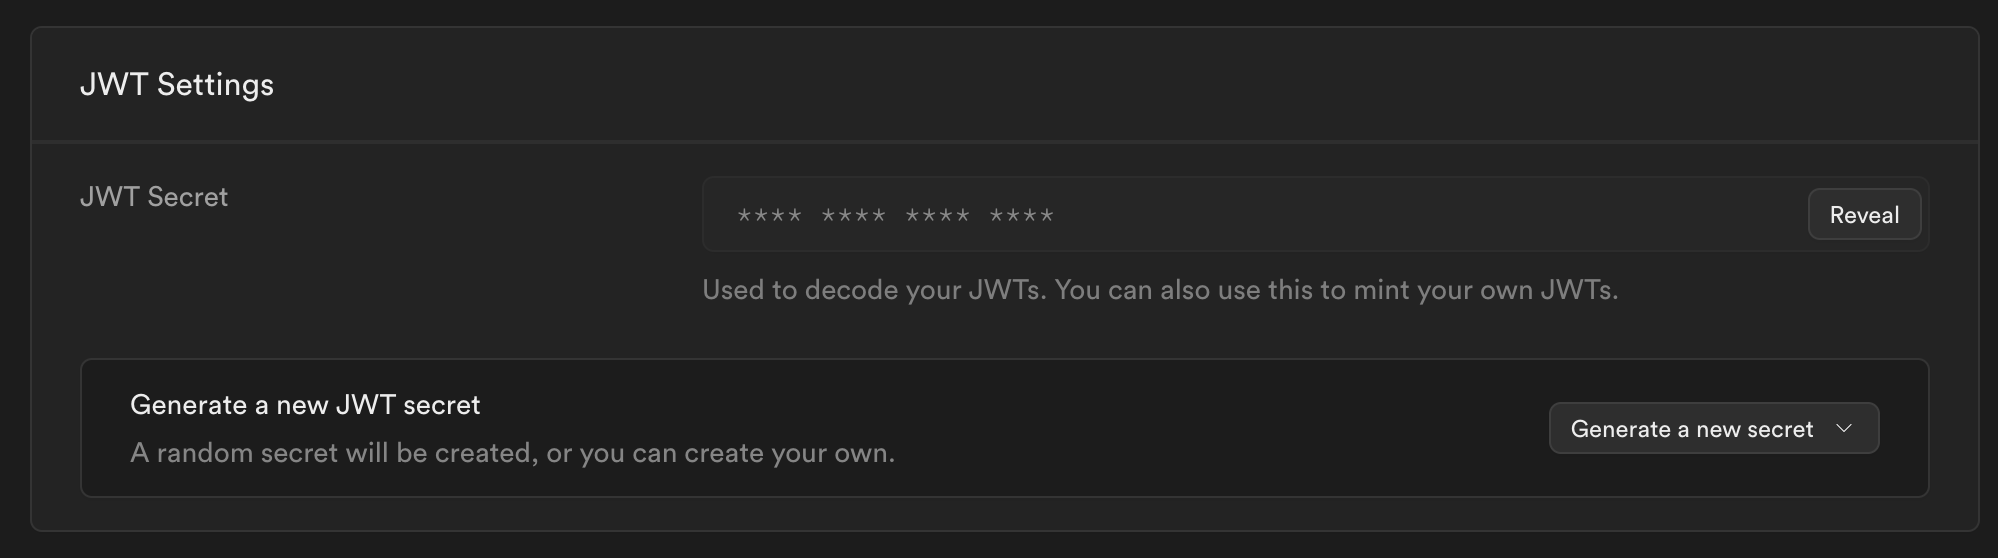
In Prudent dashboard
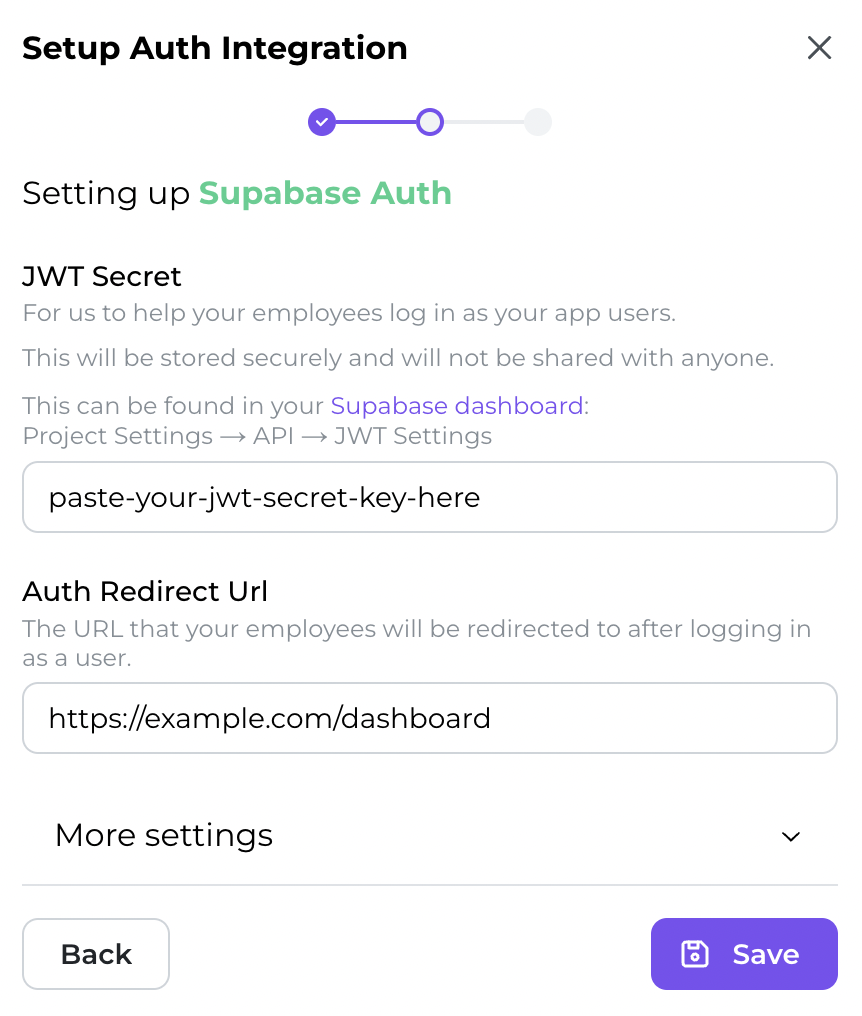
- After clicking on Setup Auth button, select "Supabase Auth"

- Fill in your (1.) JWT Secret key which you obtained earlier and (2.) the Redirect URL and click on "Save"What is Redirect URL for?The redirect URL tells Prudent where to redirect the user to after we have minted the login token for them.Typically, this would be your app frontend.
- You're done with the set up on the Prudent dashboard side, congrats! 🎉
When your support team member clicks on the login-as button, they will be redirected to the url that you have specified along with the user JWT in the query params.
e.g. https://example.com/dashboard?prudent-actor-id=impersonated-jwt-login-token
We will next go over how to use the JWT in your app.
Query param renaming
In your app codebase
You may want to refer your developer to handle this part.
- When creating Supabase client on your frontend, retrieve the JWT from the query param and set it inside the client options.
You're done with Supabase integration! 🎉
Contact us if you require more help!
Custom Integration
Custom
With custom integration, you can decide how you want the auth process to be like when your support team member logs in as an app user.
In Prudent dashboard
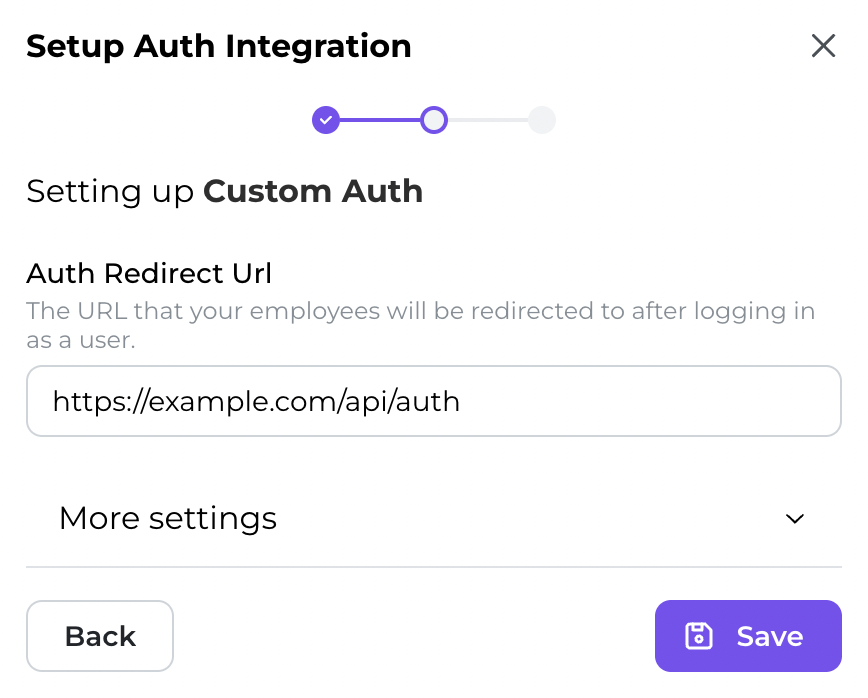
- After clicking on Setup Auth button, select "Custom Auth"
- Fill in your the Redirect URL and click on "Save"What is Redirect URL for?The redirect URL tells Prudent where to redirect the user to after they have clicked on the "Login as" button.Typically, this would be one of your API endpoints that can provision a valid session token e.g. https://example.com/api/auth
- You're done with the set up on the Prudent dashboard side, congrats! 🎉
We will next go over how to handle an impersonation request on your API side.
In your app codebase
You may want to refer your developer to handle this part.
- Inside your API auth route, you will need to handle impersonation request redirection from Prudent.Here is an example using in NextJS serverless function
You're done with Custom integration! 🎉
Contact us if you require more help!